Free Tutorial

Oh you must make one for yourself and your Girl.  Jenny our girl from Sew Pretty Dresses has come up with the very best Free Tutorial for our Super Fly fabric Jane named for all you wonderful Janes!!  Check her out, Follow her on facebook!  Jenny loves her kids, her home, and to hoard Sis Boom Fabric, that’s why we love her. Seriously she wants to help you!!  She is so supportive of all the guys and gals in the Sis Boom community and has been such an amazing friend to me.  Love her so!!! So here is her daughter Kelsey wearing Jane in green  !! For the fabric try here. Thanks Hawthorne Threads!!   To be honest I had a hard time finding this one so some sincere advice from your friend Jen, start collecting now so you don’t run out!!


Take an Online Sewing Class!

A while back we launched a wonderful online class we Judith Norman & Rick Rack…. welll… It’s back, and it’s better! There are more options this time around! Check it out…

ENCORE presentation of Rick Rack’s popular

Girl’s World “Mary’s Fancy Sash Dress” online sewing class

featuring Sis Boom designer/author Jennifer Paganelli

and sewing expert Dolin O’Shea.

More Holiday Ideas

so you are loving June Tailor  fabric sheets Create for less has quite a few options.  Well I’ll keep the ideas coming…I love to use fabric glue and glitter create the overnight bag from Girls World yup Girls World is fantastic for Holiday ideas!!!  That’s the gift that keeps on giving.  Notice the advent calender below and a little vintage chick for that new baby!!!  I love to sew sequins for the sweetest of details that makes are nostalgic juices go into overdrive. Always remember for baby nothing loose that they can swallow , these are just totally decorative..hope your  days are full of wonder and expectation of good things to come..xoxo Jennifer

Putting the Vintage in New

I don’t know about you guys but I think Lynn Harris’s use of color is completely amazing in this quilt.  The old antique gold contrasting with these warm hot hues just sends me to the moon. She calls this Mustard Melody I call it DREAMY!!!  Seriously a meticulous piece of Joy!!  Lynn is charming and was a pleasure to work with.  I am sure you will see more and more from our gal Lynn.  The photos speak for themselves and I think this could possibly be award winning!!!  Sis Boom bestows high honors and gratitude to this talented lady.  She teaches you how to create the square on her fabulous blog called Little Red Hen.  It’s a pleasure to know you Lynn.  Thanks for your take on the Poodle Collection.

Maw-Bell Presents Summer at the Lake Quilts

Do you know Sally & Susan of Maw-Bell? If you do, consider yourself lucky.. and if you don’t– get to know them! They are such lovely, talented, fabulous women!! We have had the pleasure of getting to know them and also spending some time with them at Quilt Market back in Utah! They were so much fun to be around and had the most gentle souls.

They recently put out a quilting book with patterns called Summer at the Lake Quilts: 11 New Projects from Maw-Bell Designs- Quilts, Bags & More and it is a beautiful publication chock full of wonderful patterns and projects for all of you sewers & quilters out there.


One of our favorites is the Picnic Ant Pincushion, which is ingenious and quirky. We got to see them at Market and they made us smile! The illustrations are beautifully done– in full color with tremendous detail. The patterns are great– located in the back of the publication for easy access and use, and the overall vibe of the book is just awesome.

Visit the wonderful world of Maw-Bell by going here. To learn more about Summer At the Lake Quilts or to purchase your copy go here. Enjoy!!

Spooky!!!

Remember those Sis Boom Bats that our friend Melissa P constructed?! We posted the tutorial in September… and now it’s time to remind you again! Have a few minutes tonight and want to make something crafty with the kids?! Make some bats!

See the full post here

100 Billion Stars makes sis BOOm bats!!

That’s right.. we’re getting ready for Halloween and it’s not even October yet! We’re usually so busy thinking about our Halloween costumes that we never actually make time for Halloween arts and crafts!

Melissa P of 100 Billion Stars got an early start this year… These bats are so fun and the kids will love them! Check out her FREE tutorial on 100 Billion Stars!

How about some Rosettes on the Rosetta Bag?

We feel like today is a day for a Rosetta bag… why? Just because! We love the Rosetta on everyone– from sweet little gals to adult women. There is something so beautifully versatile about the bag.

We know it’s got a lot goin’ on with the ruffles and all… but why not play a little more and add some Rosettes! Pssst.. don’t confuse Rosettes with Rosetta!

The Frayed Rosette pattern is totally F-R-E-E and we think that these Frayed Rosettes will make wonderful bag embellishments.. especially for a sweet little girl that simply can’t get enough ruffle and rosette in her wardrobe! You can attach the Frayed Rosettes along the top where the blue ribbon lines in this photo.. or create a totally different idea and surprise us!!

Click below on the FREE Frayed Rosette pattern cover to download the Free PDF pattern! To purchase the Rosetta Bag for $8, click here

Click HERE for another Rosette tutorial on our darling, amazing, Carla Crim’s Blog, Scientific Seamstress!

A Special, Glittery Tutorial for our Special, Glittery Friends

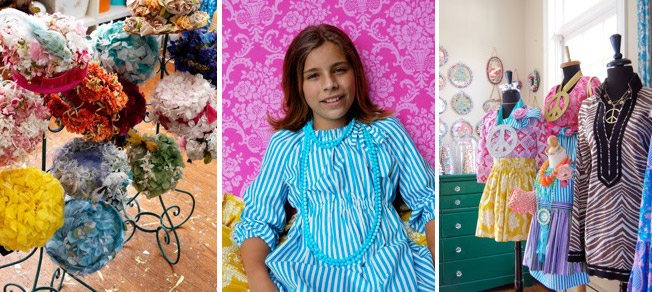
We’re all about spreading the Girl’s World love!

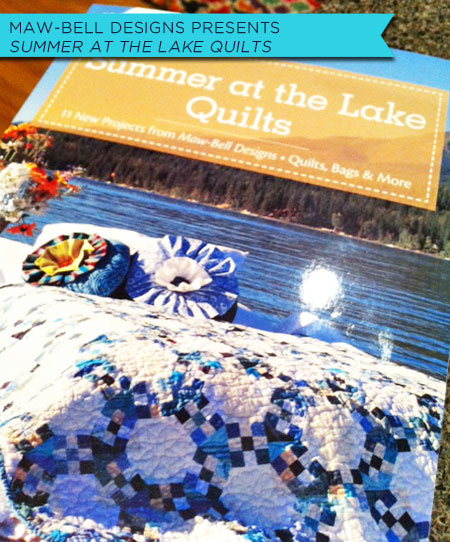
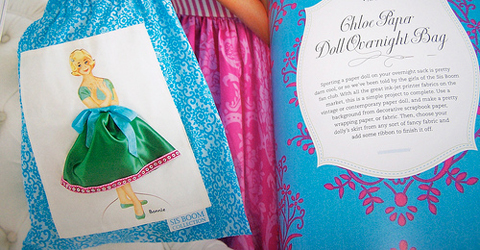
We know you’d all adore the book and find something special inside just for you or a sweet little girl in your life– and if you don’t have it yet we wanted to give you another little taste of just how fun it is.

Below we we’re sharing another blog version of a Girl’s World project! (did you catch last week’s Girl’s World tutorial?)

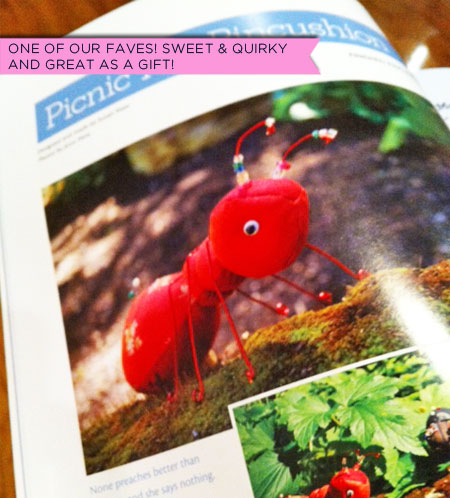
This is one that was posted on the Chronicle blog a while back, and in case you didn’t catch then, here you go! It’s a great gift for that special little girl who’s just starting school!

Materials (in order of use)

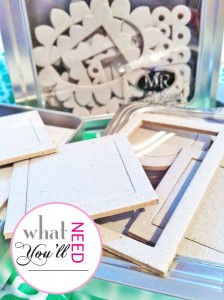
-Maya road cardboard cutouts
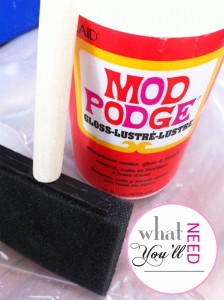
-Sponge brushes – any craft store
-Mod podge – any craft store, such as Michael’s
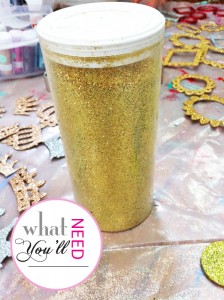
-Glitter – artglitter.com OR marthastewart.com (small, beautiful viles)
-Hot Glue – any craft store, such as Michaels
-Computer access (to type up featured messages in necklace)
-Paper Punch
-Seam Binding ribbon – Zipperstop on ebay
-Gems & other goodies to embellish (optional) ours are from flea markets & ebay!

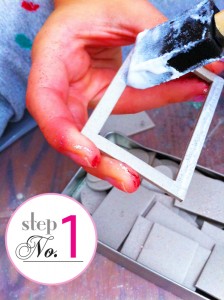
Chose a large, flat surface, lay down a sheet of plastic (you can even use a garbage bag!), and throw on some gloves to avoid super sticky hands!

Step 1) Using your sponge brush, lightly spread a layer of Modge Podge over your Maya Road cardboard shapes

Step 2) Within 30 seconds, sprinkle your glitter color of choice evenly over the surface of the cardboard shape that has been covered with Modge Podge
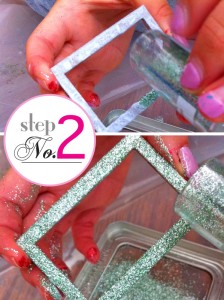
Step 3) Let your glittered cardboard shape dry and simply admire its beauty! After your shape dries, apply Mod Podge along the edges, followed by glitter to ensure total glitter coverage. Glamorous!


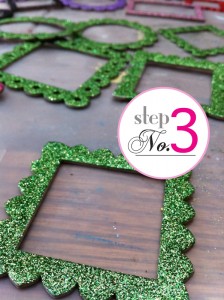
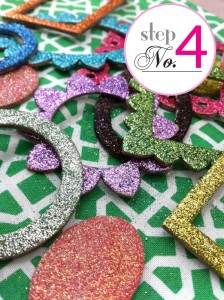
Step 4) Repeat the process as many times as desired using different colors and shapes. The more varied, the more fun! Tip: be sure to supply yourself with glittered shapes that provide holes for the seam binding to pass through (this will give you the necklace feature at the end!)

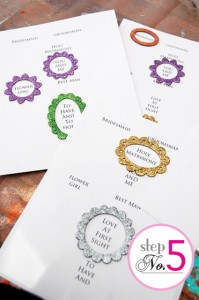
Step 5) Type up fun & special words / phrases in your favorite font. We suggest you use cardstock or glossy paper (as pictured). Experiment with font size compared to the available area within your cardboard shapes. Print out a sheet of paper with your saying(s). For circular shapes, use a paper punch (instead of a scissor) to pop these words / sayings out of their page creating a circle shape that will fit nicely behind your cardboard cutout. For squares and ovals, either cut out manually or use appropriate paper punches. Keep Brides & Grads in mind! These are fabulous gifts for both parties. Bridesmaids will also look stunning in these sparkling statement necklaces! The possibilities are endless!

Step 6) Using a hot glue gun as an adhering method, attach the punched out paper circles against the back of the cardboard cutout so that the words show through the little “frame”. Tip: Use a thin strip of hot glue to avoid seepage through the front.

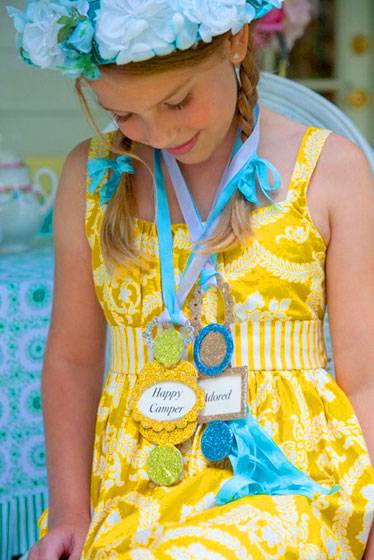
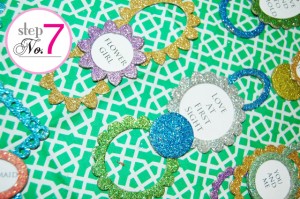
Step 7) Have fun! Match your favorite shapes together, vertically, using hot glue as a adhering method in the back. Tip: Always end with an “o” piece at the top, which you will string your seam binding through to make a necklace!)


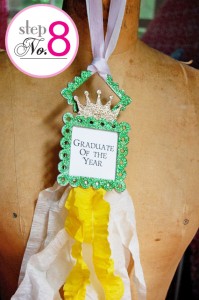
Step 8) Embellish your beautiful design! Add streamers to the bottom (by glue gunning them to the back)


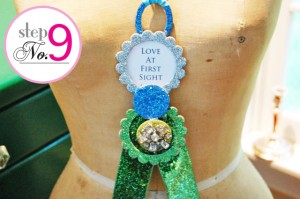
Step 9) Add gems here and there for some sparkle and shine, or hang dazzling ribbon to create a whimsical, girly look!

Step 10) Hang all of your beautiful masterpieces together and show them off! You did a fabulous job! Be proud! These are stunning pieces for fun, whimisical, DIY weddings, graduations, little girls, and of course, anything else you can dream up! Go crazy! It’s all about having a good time and letting the glitter fly!!

Going overnight?

One of our most favorite projects (who are we kidding, they are ALL our favorites) in Girl’s World is the Chloe Paper Doll Overnight bag!

The Chloe Paper Doll bag is this super cute drawstring tote featuring a vintage paper doll gal with Sis Boom fabric as a backdrop!

Dying to make one at home? We thought so! Well, here’s the deal…

Below is a tutorial for the Sis Boom blog edition of the Chloe Paper Doll overnight bag! Have fun!

  1. Pick up or order some Inkjet Printable Fabric, which requires a sew on application (print, peel & sew!)
  2. Select your lucky bag of choice (go crazy and use something else- maybe a pillow? surprise us!)
  3. Click on the cute little paper doll gal below to download an 8″ x 11″ PDF
  4. Print her out on the special printable fabric paper
  5. peel off backing (instructions will come with paper)
  6. Sew the printable fabric onto your special item of choice!… a bag, pillow, or anything else that could use some paper doll love!

Gift the bag to a special little girl and make her day! Have a fabulous weekend!

CLICK ON PHOTO ABOVE OR ON THIS LINK TO DOWNLOAD PDF!