LOVE COLORFUL + SIS BOOM CLIP ART SERIES: SEQUIN FLOWER TREE

Without further ado, I hand the Sis Boom glittery mic over to Jessica of LOVE COLORFUL for our weekly Sis Boom CLIP ART par-tay!

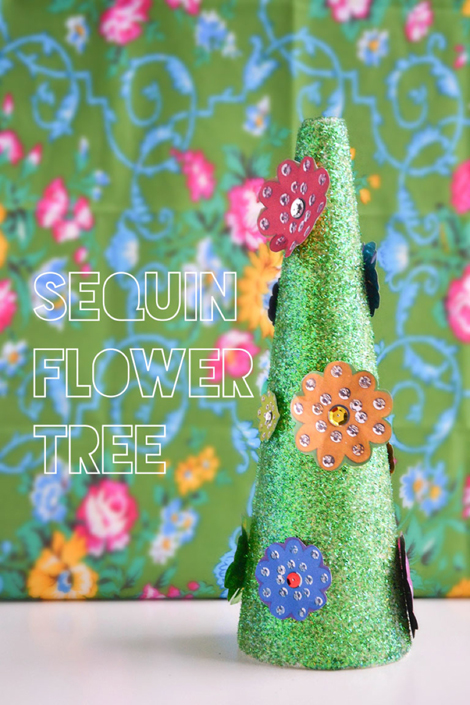
Looking for an festive DIY decoration that’s perfect for Spring and easy to make?  I’ve got the perfect project for this week’s Sis Boom Clip Art Series project: a sequin flower tree!

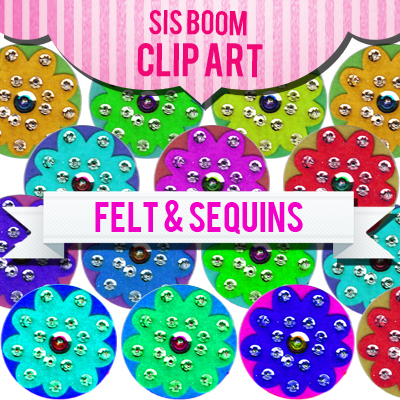
This project features the Sis Boom Felt Sequin Flowers clip art!

They’re so colorful and fun and will give you the look of real hand-sewn felt flowers (without all the time consuming work of actually sewing on each sequin!)

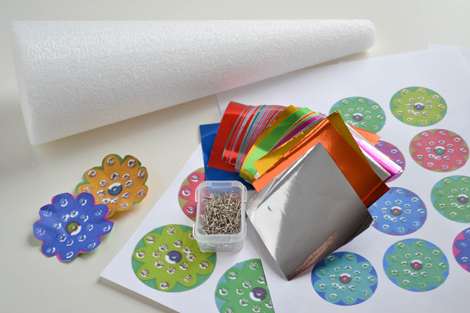
For this project you will need:

Sis Boom Hand-Sewn Felt Flowers & Sequins clip art file

-a styrofoam cone

-green tinsel glitter

-metallic origami paper

-8 1/2″ x 11″ sticker paper that can be used in an inkjet printer (I found mine at a local office supply store)

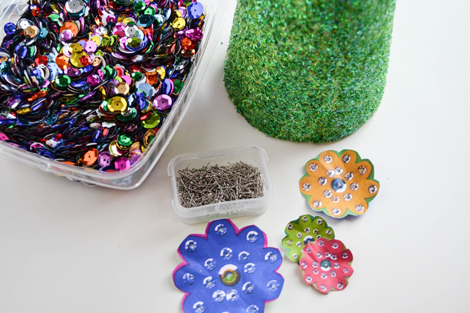
-sequin pins & a couple of sequins

-glue, scissors

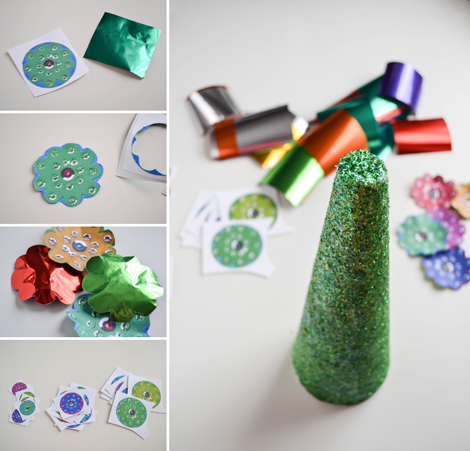
To start, cover the styrofoam cone with glue and sprinkle on glitter. Shake off excess and let dry. (You can also spray with an acrylic sealer if you want to make sure the glitter stays!)

Print the clip art file on the sticker paper. You can also scale down the image to make a variety of flower sizes – just remember to save a copy of the file and then scale the image to 75%, 50%, etc.  Cut the flowers out into individual pieces – this part doesn’t have to be super clean as you will cut out the actual shape of the flower in a moment. Peel off the backing and stick a flower to the backside of a piece of origami paper (sticky side of flower to white side of origami paper) so that the backside of the flower becomes shiny. Cut out the flowers again, this time cutting around the petals. “Crinkle” each flower by bending up the edges to give it some dimension.

*If you can’t find sticker paper, you can still achieve the same effect by gluing each flower to the origami paper, but you’ll have to wait some extra time while each one dries.  The sticker paper just makes it super quick and easy!

Using the sequin pins, pin each flower to the styrofoam tree, placing a real sequin in the middle to give it a little extra shine.

Pop over to LOVE COLORFUL to see the beautiful finished product. You’ll love it– Promise!

LOVE COLORFUL + SIS BOOM CLIP ART SERIES: CONFETTI HEARTS CHARM BRACELETS

Hi Friends! We’re officially ahnding the mic over to our girl over at LOVE COLORFUL.. JESSICA!
For the FULL post, go to Jessica’s beautiful site, LOVE COLORFUL.

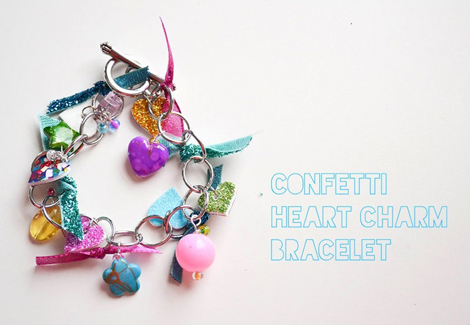
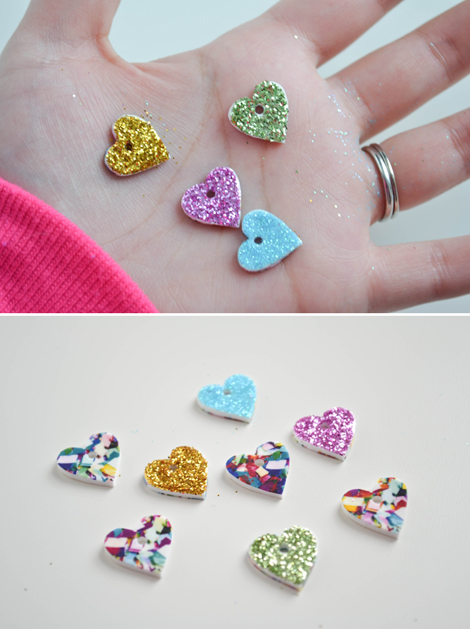
Welcome to the very first Sis Boom Clip Art Series post! I’m all sorts of excited to share with you some super cute charm bracelets made with Sis Boom’s Confetti Hearts clip art!!

will need the following:

Sis Boom Confetti Hearts clip art file ($5.00)

-Shrinky Dinks Inkjet Paper (make sure you get the kind of Shrinky Dinks that specifically say they can be used in an inkjet printer!)
-paper hole punch
-glitter
-glue
-charm bracelet chain
-7 mm jump rings
-an assortment of jewelry beads, findings, and ribbon

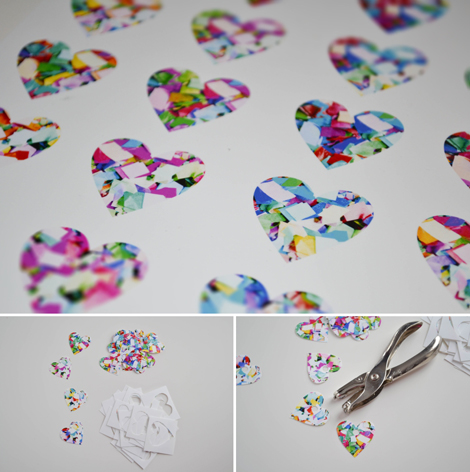
printing out the confetti hearts on a piece of the Shrinky Dink paper.

**As per the Shrinky Dink instructions, be sure to brighten your image before printing – when you bake the pieces the color becomes darker.  I opened the confetti hearts file in Photoshop, went to Image > Adjustments > Brightness/Contrast and set the brightness to 100 and the contrast at 30.  (You can play around with these numbers to get slightly different color effects). You can achieve the same effect in most photo editing programs, so as long as you have something to open the .png file in,  you should be able to find a brightness option.

Once printed, cut out the hearts and use a paper punch to punch a hole in the top of each heart.

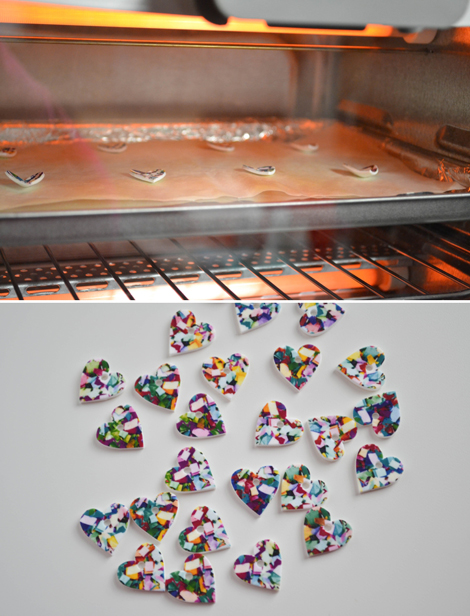
Bake in a toaster oven according the the Shrinky Dink instructions. It’s so much fun to watch the magic that happens in a very short period of time!

To jazz up the back side of each heart, I simply dabbed a little glue, sprinkled some glitter, and voila! Now they have confetti AND are sparkly! (You can seal with a little Modge Podge to make sure the glitter stays put!) You can also just leave the backs white, or even paint them a solid color depending on the look you’re going for.

To peep the final (and most exciting) steps of this tutorial on LOVE COLORFUL, click HERE! Jessica will walk you through the process of turning these beauties into bracelets!

Jessica- thank you for being such a ROCK STAR! We can’t wait to see what you post next Friday!


Sis Boom CLIP ART SERIES featuring JESSICA of LOVE COLORFUL!

What an exciting day for us here at Sis Boom… Our friend Jessica, over at LOVE COLORFUL, is hopping on board the Sis Boom train to bring you a variety of FABULOUS tutorials featuring Sis Boom CLIP ART, eye candy & inspiration! Get excited, because this is going to be happening once a week around here.. aka, you’ll be so inspired you won’t know where to start! So, friends, let’s put our hands together for Jessica and the LOVE COLORFUL CLIP ART SERIES!!!

Hey, everyone! I am so honored to share with you that Love Colorful & Sis Boom are teaming up to bring you some super awesome, sparkly, happy craft projects!!

Each week I’ll be posting up a colorful new project for you to try using some of the clip art files.  From confetti hearts to vintage ephemera, the clip art is already inspiring by itself, but in case you’re in the market for a little more creative inspiration, I’m here to offer up a little guidance (and some glitter!)

The first project will be going up this Friday, March 1st, so be sure to stop by and check it out!  Want to get a jump start on the clip art craze? Go here to get yours now!  As you can see, they are all so pretty and versatile – and totally affordable when you think of all the mileage we’ll get out of them!

Remember to check back here on Fridays for new clip art projects!

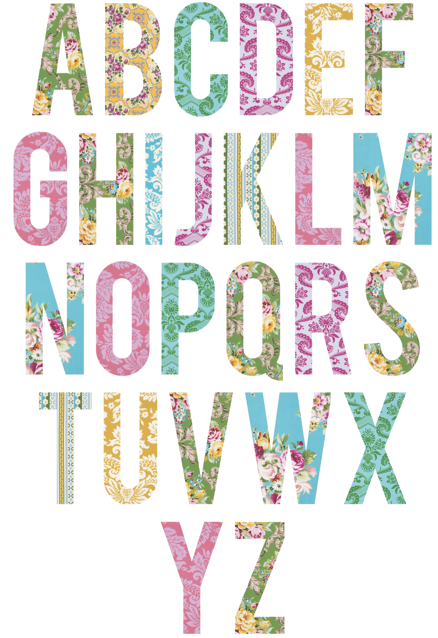
Circa Alphabet… FREE!

We know you’re all dying for Circa in your sewing studios.. and it’s so close (ships in May).. ‘Til then, here’s something fun for you. It will also give you a taste of what our CLIP ART products are all about.

Click HERE or on the image below to automatically download a Circa Alphabet file (FREE!). Once you’ve completed the download, use the file for digital or printing purposes! (The File is a PDF and will probably go directly to your downloads folder)

Create an e-card for your friend.. print and cut out the letters to collage your way to a masterpiece… Make a mini banner!!… Really, the possibilities are endless and that’s what we LOVE so much about CIRCA.. and, CLIP ART! HAVE A BLAST!

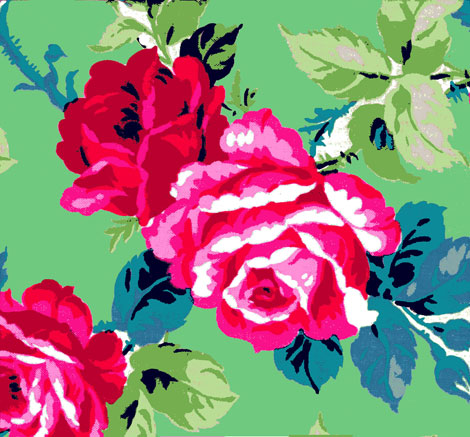
Roses

I can never get enough!!!!  I would fill my house with them.  Real, artificial , dried, give them to me anyway!! So it’s my job to keep them coming.  Thanks for all the Circa Love and for being the best peeps ever!!!  Roses below, something in the future possibly??  Keep all the love coming this way, we feel ya!! We are busy making Circa prototypes so forgive us if we lag at all on the social media piece cause you are all very important to us!!!  Always enjoy dreaming of more roses!


MORE clip art

Hi! It’s Madeline! Ok– I am so over the moon with this new CLIP ART! ahh I can’t stop dreaming up ideas to share with our Sis Boom friends!

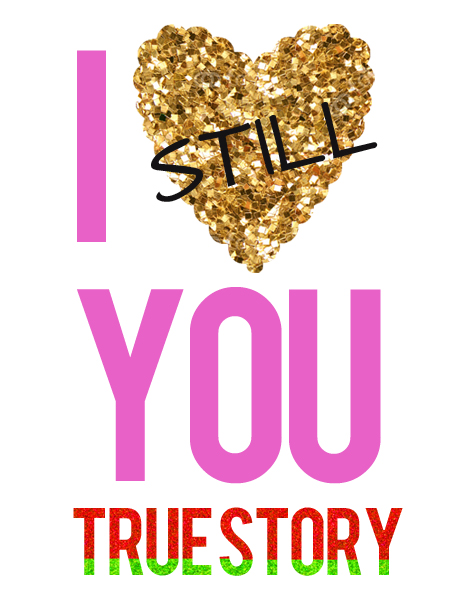
As you can see, I made more use of our Valentine CLIP ART.. I’m just thinking of Valentine’s Day as a kick off of LOVE! Why do we only profess our love so openly on this one single day?! Let’s keep it going! Even more surprising than a sweet card on February 14th… is a card afterwards just to say, Hey.. I really (still) love you a lot. It’s like a little non-Valentine’s day surprise.

What else can you do with these Clip Art goodies?

  • Print on fabric paper (check Amazon for this) & make pillows! Embellish with sequins & more!
  • Print on iron transfer paper (check Amazon for this) and embellish an apron, T-shirt, pillow & more!
  • banners, cards, cake & cupcake toppers, garlands, announcements & invitations
  • paper chains
  • collages
  • photograph embellishments
  • the list goes on! send us your ideas!