We are truly lucky to have the uber talented Tamara Harrison show us how she creates her AMAZING fabric flowers. Tamara lives in Western Australia and combines her love of jewelry making, millinery techniques, and floristry skills into a stunning wedding business. We fell in love with her flowers when they showed up on our Instagram feed and she graciously agreed to do a guest blog post.
Be sure to visit Tamara at:
www.tamaraharrison.com.au
Instagram
Facebook
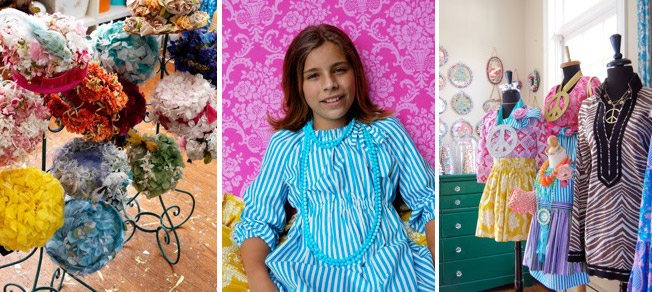
When people ask me what I do, I usually say, ‘I make pretty things’, this is often met with ‘what do you mean, what kind of pretty things?’, so I show them my website or Instagram feed and get an ‘OOhhhh, OOooooo, Ahhh I seeeee’. I have to admit, I LOVE this response because of the joy and curiosity it brings.
Arriving here at the ‘I make pretty things’ place has been a culmination of being trained in Floristry & Art, owning floral design shops, making hundreds of wedding bouquets, lecturing in the subject, coming in and out of the creative terror zone and combining all those skills with new ones to make amazing things for events and home.
I am inspired by all things around me and I constantly have to ‘get the creativity out’ otherwise I go a bit batty (It’s true!).
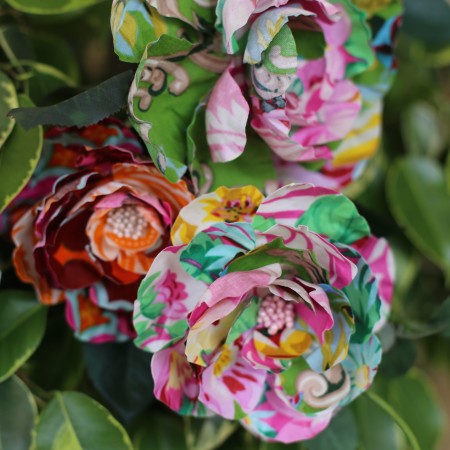
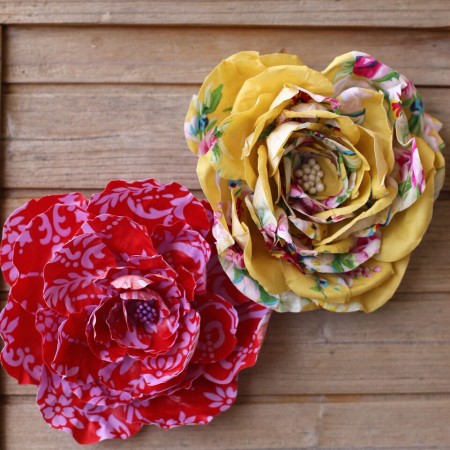
My latest ‘pretty thing’ has been to use my french flower making skills to design fabric flowers. I have become quite obsessed with making them and how beautiful they look in Sis Boom fabric.
Here are some stages of construction. Each flower takes several hours to complete.
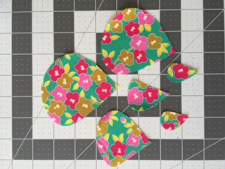
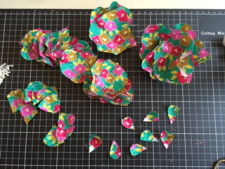
Images 1 & 2: Cut out your petal shape in 5 or 6 sizes small through to large. I cut approx 8 in each size (I may not use them all in 1 flower).
_

_
_
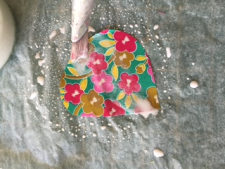
Images 3 & 4: Paint with a fabric stiffener and allow to dry completely. I use my own special formula but watered down craft glue works really well (as long as it dries clear).
_
_
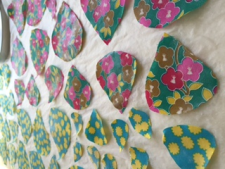
Images 6& 7: Using hot brass flower making tools stretch and shape each petal until it looks three dimensional.
_
_
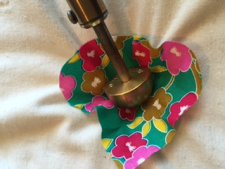
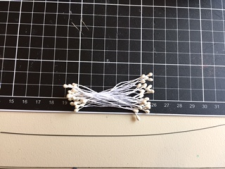
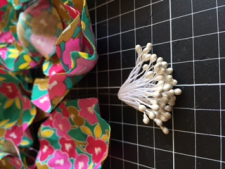
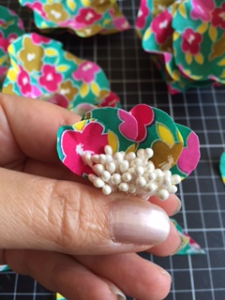
Images 8, 9 & 10: Take a small handful of craft flower stamens and tightly twist a wire through the middle, bending the stamens in half to form a cluster. Sort your petals from smallest to largest. Starting with the smallest petal, take some clear drying craft glue and attach. You can sew your petals on if you prefer.
_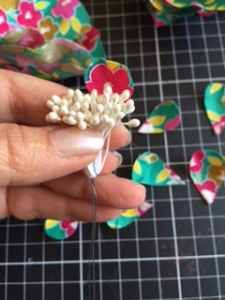
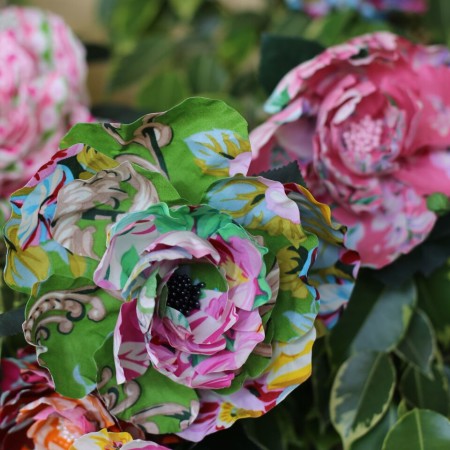
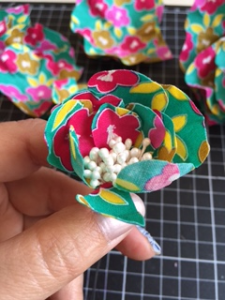
Images 11, 12 & 13: Keep gluing your petals gradually increasing them in size, Make sure to overlap with the previous petal. If in doubt grab a real rose and have a look at how nature arranges them!
_
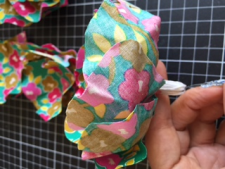
Image 14: Hang completed flower somewhere to dry overnight.

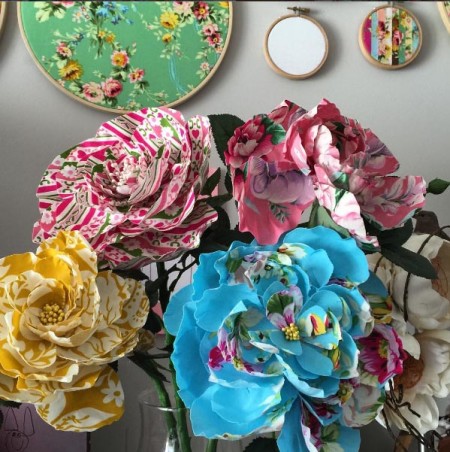
Image 15: Arrange your flower by fluffing up the petals and say WoooHoooo I’ve done it!!
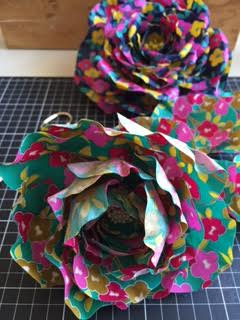
You can then attach a clip, brooch backing or stem depending on how you’d like to use your amazing bloom!