
Chicago blogger and seamstress extraordinaire, Merav of Baby Hobbes Design, and her lovely daughter, Hobbes, are back for the this second story on our series of transforming the Sophie. Enjoy!
Sis Boom Sophie, Part II-Sewing for an indecisive month

Hi again and thanks for joining me for Part II: Sophie Tunic Sewing for an Indecisive month.
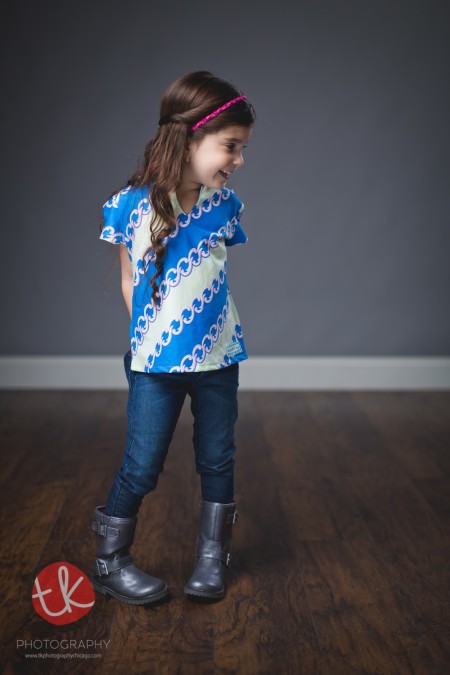
I just adore the relax fit and ease (I like to call it dress-ability) of the Sophie. I consider it a win in our house when Hobbes can come out of her room dressed in the morning without asking, OK, yelling for me to help her get dressed. And that’s such a nice break for me, since most mornings I am chasing my 19 month old son around the house.

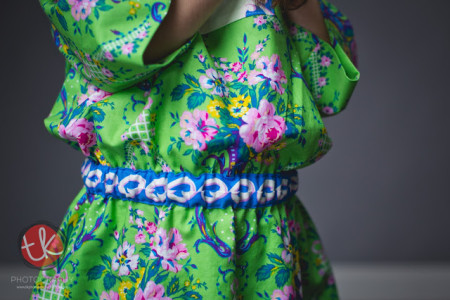
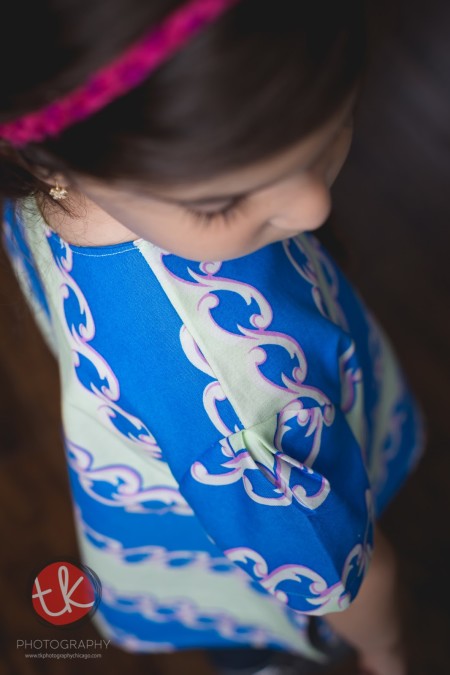
After sewing the original tunic (Sophie Tunic Part I), my wheels were still turning and I just had see how the Sophie Tunic worked as a dress. Because Hobbes is petite at 41 inches, I decided I wanted to add an external casing and create a waist line on the dress. I used Sis Boom beautiful Daisy in Blue, it’s my favorite print from Caravelle Arcade.
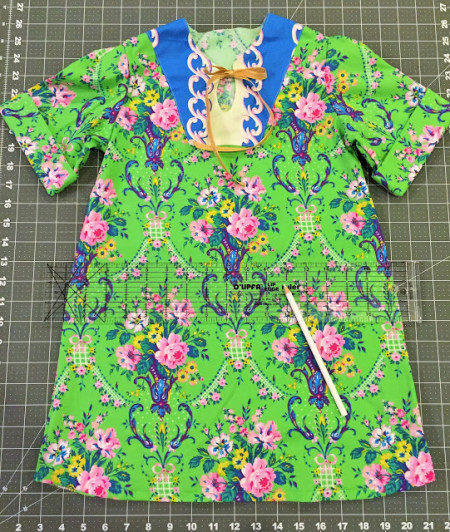
Remember how I mentioned that you can get creative with your keyhole, I am just swooning over this combination.

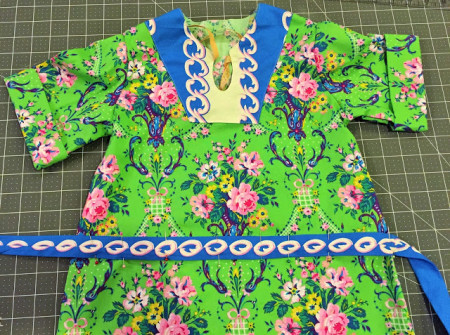
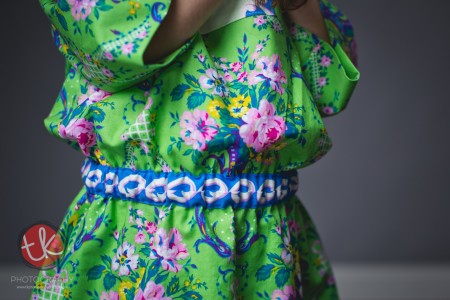
And check out the back:
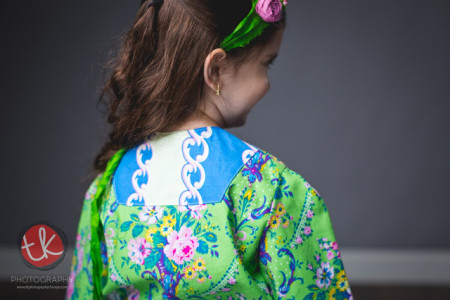
I must stop and mention my friend Julie Crigger’s amazing ability to match Sis Boom’s fabrics with her gorgeous hair pretty. My heart melted when I received this Silk Sari Tie-back, created especially for this look. You can find her shop Little Sparrow Bow here.

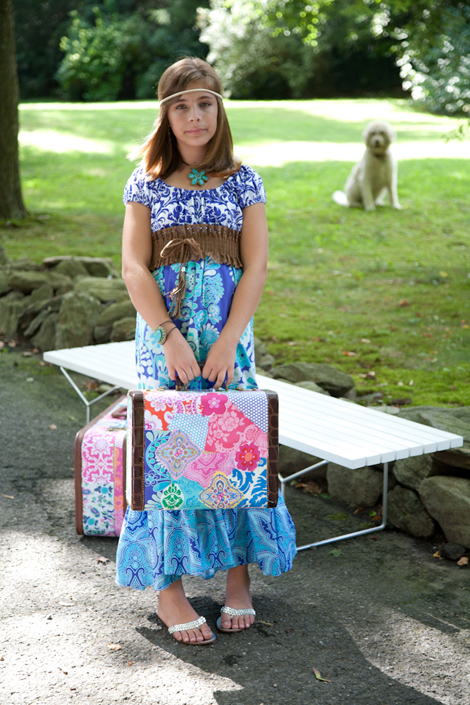
I really love how the Sophie Tunic transformed. Keep reading to find out how I achieved this look.

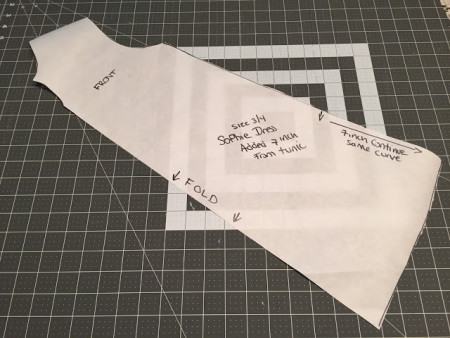
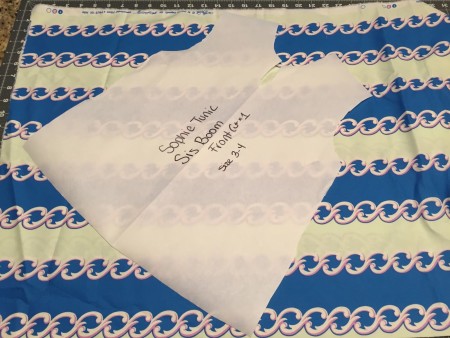
Before you can start the transformation, you need to figure out the length to extend the pattern. For mine, I needed to add 4-5 inches to the tunic to get the length above the knees. I also wanted to allow for an approximately extra 2-3 inches so the dress can have a pillow-effect over the waist-with kids, it kind of happens naturally that dresses rise up. I concluded that 7 was my magic number and crossed my fingers!

To adjust the tunic into a dress length, I first eliminated the flaps (Please skip over page 11-12 in the Sophie tunic directions) and added 7 inches to the bottom of the pattern. See picture below.
When drawing the extension, start at the external arm hole and drew down a straight line, keeping the angle and curving at the bottom.
Once you have your dress sewn per directions (skipping the flaps) go ahead and hem the bottom of your dress by folding it up 0.5 inch then pressing. Fold again another 0.5 inch up, press and sew your hem closed.
Now we can begin making the external waist casing. There are many different ways to create casing, and you can choose to make it thinner or ticker then mine. You can even use pre-made bias tape for the same results, just remember to adjust your elastic size so it will fit inside your casing once it’s edge-stitched on. For my dress, I had a specific look in mind. I wanted to sew it in a way that only the blue from Abby in Blue and the rings will show up.
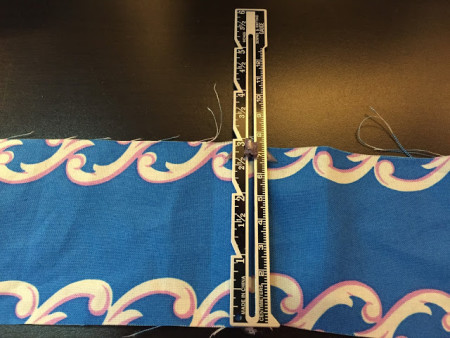
I choose to cut a 3 inch strip by the salvage width. I will later adjust it around the dress and cut off the extra fabric.
Go ahead and fold in half, with the right sides together sew along the strip. You don’t need to finish the ends.
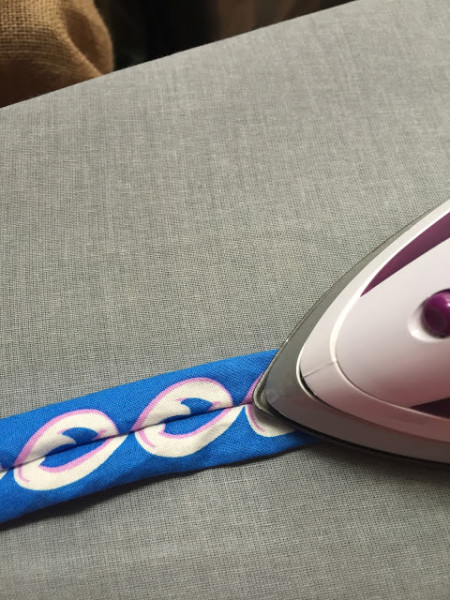
Flip your casing right side out. As you can see from the picture below, to achieve my design, the seam will run down the right side of my fabric-in the middle. I figured it wouldn’t be as noticeable once it’s cinched in.
You may choose to have your seam on the side or hidden underneath. Now iron your casing and set it aside.
Place the finished dress on a flat surface as seen in the picture below. With a ruler, go ahead and draw a straight continues line, marking the placement of the casing. I choose to mark the line 6 inch under the bodice facing, to create a drop-waist and allow for the pillow-like effect.
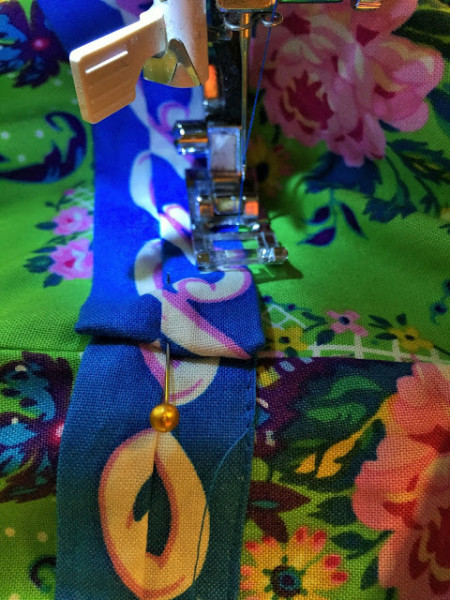
Once you made your marking, go ahead and pin your casing to your dress. Be sure you are only pinning through one layer at a time. As you can tell from the picture below, I started pinning from the dress front right edge. Since I cut my casing at salvage width, I left some of the excess fabric on the edge. Later I will use this fabric to close my casing.
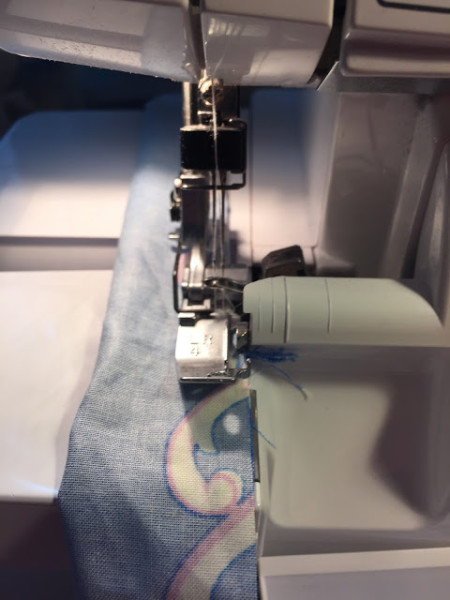
Go ahead and edge stitch the casing. Remember to leave 1.5-2 inch opening on either the top or the bottom of your casing. This opening will be closed after the elastic is fed through the casing.

Once your casing ALMOST sewn all the way around, go ahead and trim the remaining fabric, tuck under and sew your casing closed as pictured below.
You are almost done!!! Remember that 1.5-2 inch space we left? time to get your elastic out. For my dress, I used a 3/4 inch width elastic, measured out to 19.5 inches-Hobbes waist is 20.5. For this dress design, I didn’t want it to be to tight-just to have enough pull to cinch the dress to the body. I inserted the elastic, catching the two ends together and sewing with a 1/4 inch seam allowance. Now all that is left is to sew your casing closed.
YOU ARE DONE!!!
What did you think of the Sophie Tunic transformation into a Dress? I love finding patterns that allow me so much versatility, especially sewing with October’s weather indecisiveness.
I would love to hear your thoughts and comments here, or stop by and say Hi to me over at Baby Hobbes Design
You can also follow me on Instagram @Babyhobbesdesign
Beautiful Sari Tie-back made to match Daisy in Green, by the talented Julie Crigger over at Little Sparrow Bow
Lastly, my genius friends Thomas and Tiana over at TK Photography Chicago for their amazing ability to capture my design creations and beautifully feature their movements and elegance. I couldn’t be more impressed! Oh, and thanks for letting Hobbes and her little brother have some fun in-between takes.


