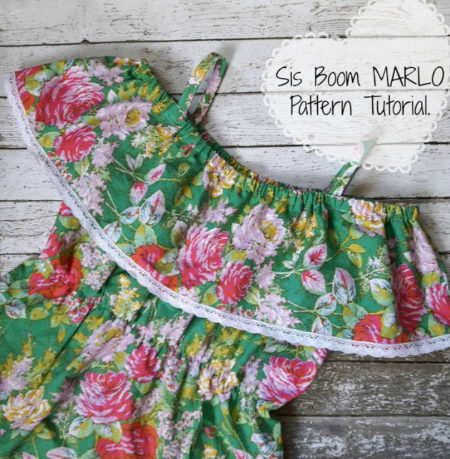
Once again Jeanine Thomlinson takes you through a wonderful tutorial on an off the shoulder Marlo dress with lace trim. She is using Rachel in Green from the new Color Brigade line. If you have any questions on this pattern or any other Sis Boom patterns, please join our Sis Boom Pattern Co Facebook Group.

Your first step is going to be to hit that “patterns” tab and pick up the Marlo pattern.
Then you cut the pattern pieces as directed. I used the longest cutting length for this for a nice mini dress length, but honestly I almost went maxi length…. the only thing that stopped me was not having 3yds of this fabric – and I HAD to have this fabric! lol.
Now when you get to cutting your ruffle strips, you will want to use the BACK ruffle length (it is shorter, and with a longer ruffle too much width will make it stand out poofy a bit) and then ADD many inches to the length of the ruffle. Remember it is easier to do a wider hem or cut an inch off the bottom than to add it later. so be generous. Here you can see how wide I cut my ruffle. Also, if you CAN cut on the bias (aka. you have enough fabric) I would recommend you do so for the drape. I didn;t since I was tight on fabric only have 2yds to do this entire dress in.
Sew the sides of the dress together and finish the armholes as per the pattern. Then finish the top edging of the neckline – this is not in the pattern, but serge or zig zag or something to finish that edge and finish one edge of the ruffle with the serger/zigzag as well.
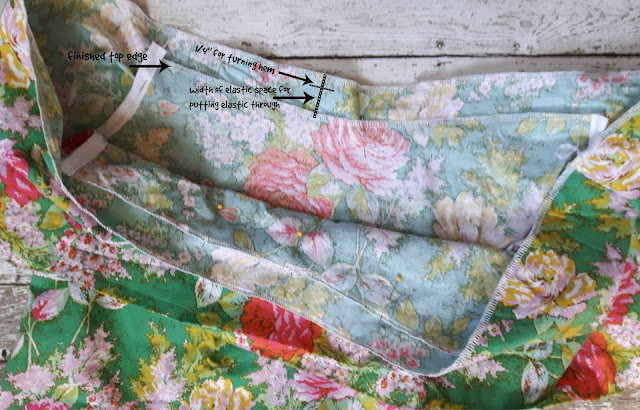
Now you are going to put the dress into the ruffle. right side of the dress to the wrong side of the ruffle fabric. Move the ruffle up from the top edge of the dress neckline by elastic length plus 1/4″ for turning a hem. Please do make sure everything is nicely centered – you can refer to your pattern as needed.
Now you are going to start making your casing. Fold the ruffle over just overlapping the serged edges. do this all the way around and sew closely along the edge. Remember to leave a space for the elastic to be threaded.
Now this is what your dress/shirt will look like.
Try it on. Decide where to hem the ruffle. and pin some fabric selvedge to the back side of the dress near where the armhole bias is. and mark the top edge as you can see I did below. With the dress on fold the slevedge over to the front and pin or mark. This is how you get perfectly placed and length of straps.
I had such a hard time deciding to trim or not to trim…. I also added a little elastic to the waistline at this point. I would not have needed to if I had done shirt length, but as a mini dress I thought it needed a little taking in.
Sew your homemade like bias tape straps in place and you are done!


