Sis Boom Holiday Tour Day 7

Lisa of Glitter in My Coffee, sewed the cutest Gabriella Fae for her daughter. Best of all if snowed before her photo shoot so the pictures are especially festive and magical. You won’t want to miss this tour! There’s also a pattern giveaway at the end so make sure to stop on over and leave a comment.

Walking in a Winter Wonderland with Sis Boom

by Lisa of Glitter in My Coffee

gabrielafae_01

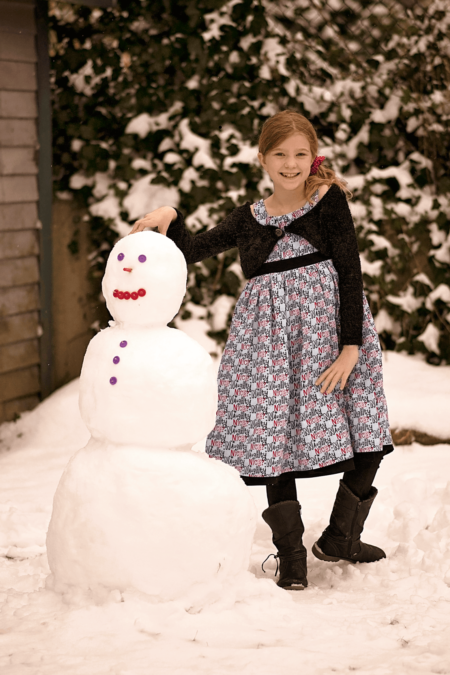
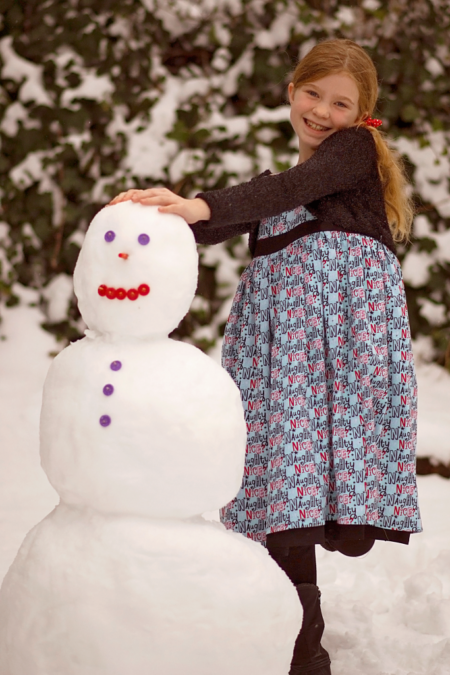
I’m sew excited to be part of the Sew for the Holidays with Sis Boom Blog Tour. One of my favourite things to do for the holiday is sew up a new holiday dress (or two, or three) for my mini. As always, she’s a big part of the sewing process – from selecting the pattern to helping pick out the fabrics. We took a special trip to Joann’s to get some fabric for this one and it ended up being a compromise between her first choice (cartoon Christmas dogs) and my first choice (vintage chalkboard print) and we wound up with this whimsical “naughty or nice” print. I love the combination of aqua, red and black in this fabric for the beautiful Gabriella Fae pattern by Sis Boom.

gabrielafae_06

On the day we went to shoot photos for this post we were covered in snow. Mini Mi had already built a snowperson earlier in the day and has some fun posing with it in her beautiful new dress. The Gabriella Fae has a lot of options – sleeveless, short, 3/4 or full sleeves. I had originally intended to make this with elbow length sleeves but when I cut it out I realized I had underestimated my fabric and so it ended up sleeveless. To provide a little arm coverage I whipped up the shrug to cover her bare little arms for our outside shots.

Continue reading the blog post over on Glitter in My Coffee…

The Sis Boom Holiday Blog Tour – Day 2

sis-boom-holiday-blog-tour-graphic

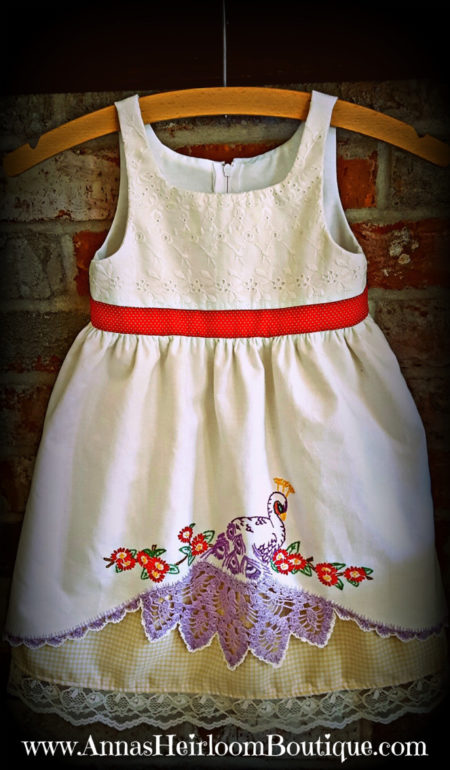
Tuesday we kicked off our Sis Boom Holiday Blog Tour with Mrs. Podges post on the Patricia Tunic. Today, Anna’s Heirloom Boutique is stop 2 on our Sis Boom Holiday Blog Tour.  Amy sewed a lovely Gabriella Fae using part of a gorgeous embroidered pillow case.  So head on over and learn about  sewing with vintage linens and Amy’s experience of sewing a zipper into a dress for the first time! She also has a giveaway at the end of her entry so make sure to enter.

gabriella-fae-dress-front


Getting Ready for the Holidays with Hotel Frederiksted

Once again Merav and Baby Hobbes of Baby Hobbes Design are back showing off this lovely Gabriella Fae in our newest fabric line Hotel Frederiksted due out in stores later any day now. We hope this post inspires you to include Sis Boom in your holiday sewing! Don’t forget to share with us on Facebook and Instagram. We always love seeing what you are creating.

hotel-fred-bh

I am more of a last minute kind of gal! Somehow I stay organized (love my “to-do” list) but I am known to procrastinate A LOT! Hmmmm…starting my kids Halloween costumes 48 hours before they needed to be worn, for example! But when I received my Hotel Fredriksted samples, I couldn’t resist jumping into “Holiday” Mode since this collection features gorgeous reds, greens, blue and white colorways that fit perfect with the Winter Holiday Spirit.

It’s tradition here for Hobbes grandparents to take her to see the Nutcracker Ballet, so I wanted to create a festive look that will mirror Hanukkah and Christmas enthusiasm, yet include the comfort and wear-abilty that is my signature style.

hotel-fred-bh4
hotel-fred-bh6jpeg

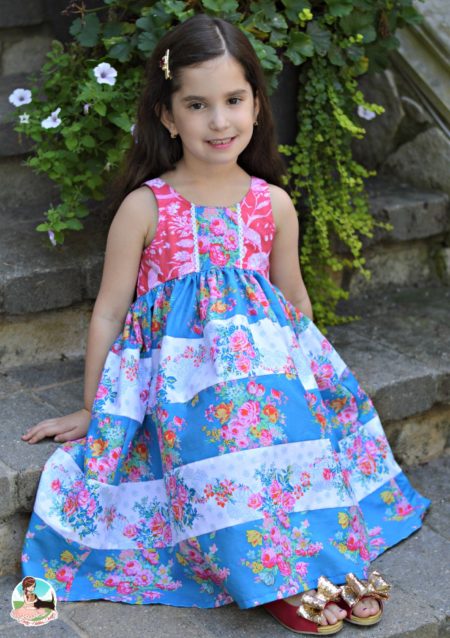
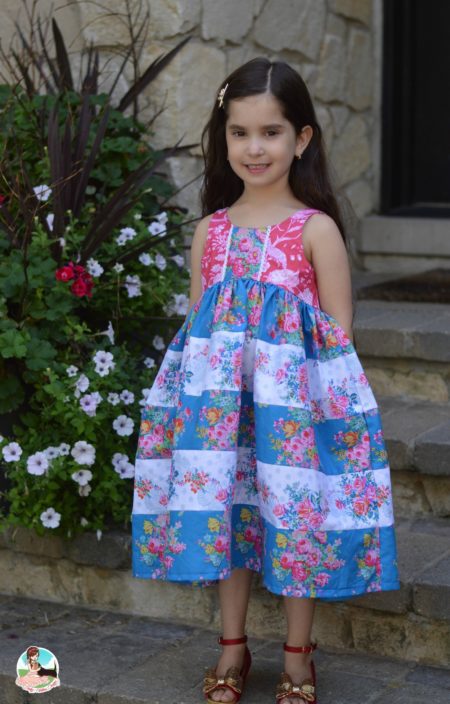
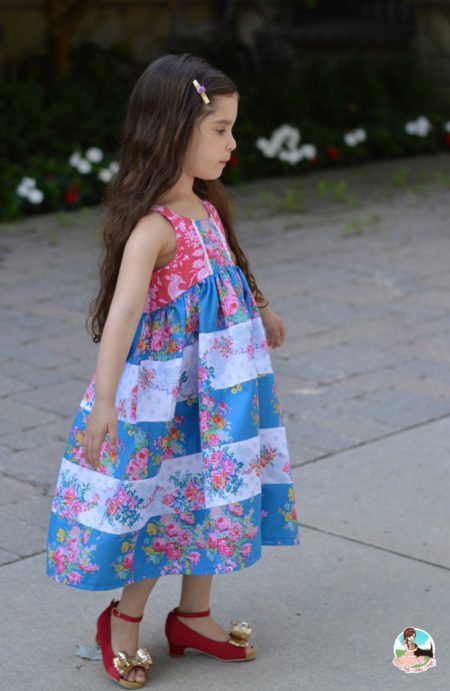
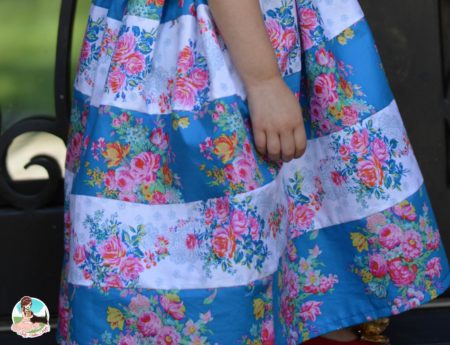
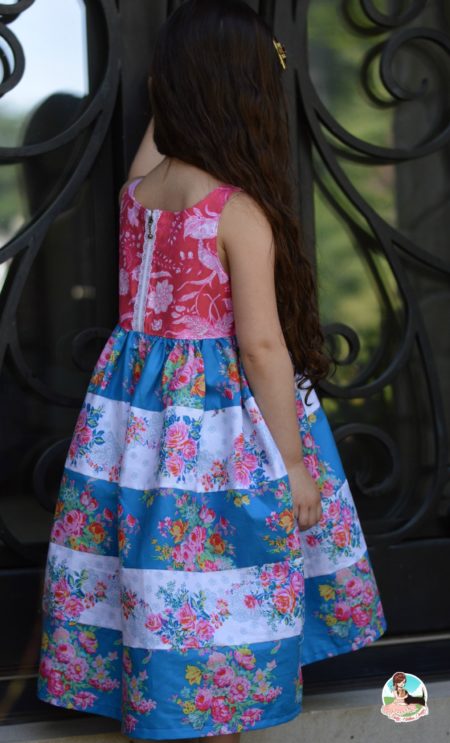
I instantly grabbed Gabriella Fae, Hobbes favorite Sis Boom pattern and went to work. I wove Krysta in white and Christie in Blue (cutting stripes) together to create the skirt.

hotel-fred-bh5

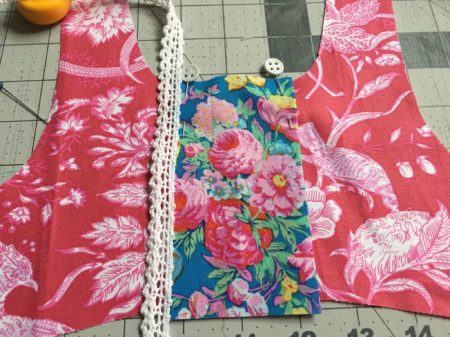
For the top, I chose Sophia in pink, a bit of white half inch crochet trim for the centerpiece and a lacy exposed zipper for the back.

hotel-fred-bh2
hotel-fred-bh3

I wanted a full skirt for Hobbes size three width-I cut each stripe from salvage to salvage and then curved the bodice to create a light bounce in the front.
See here for my previous tutorial on curving bodice.

Let me know what you think of Hobbes’s Hotel Fred Holiday dress and of you had a chance to try out curving your dress bodices too.

Till next time, Happy Sewing!

Merav @ Baby Hobbes Design

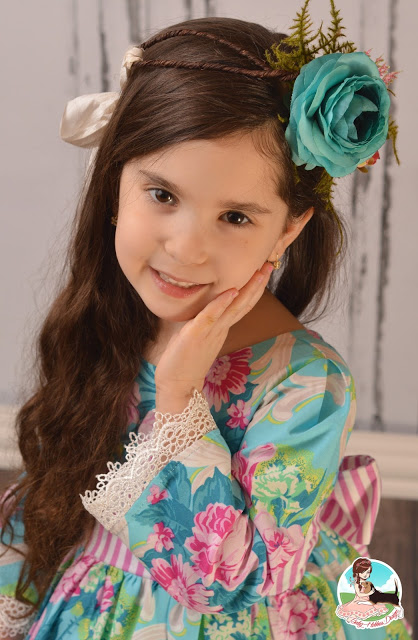
Guest Blogger: Baby Hobbes Design and the NEW Sally Dress Part II

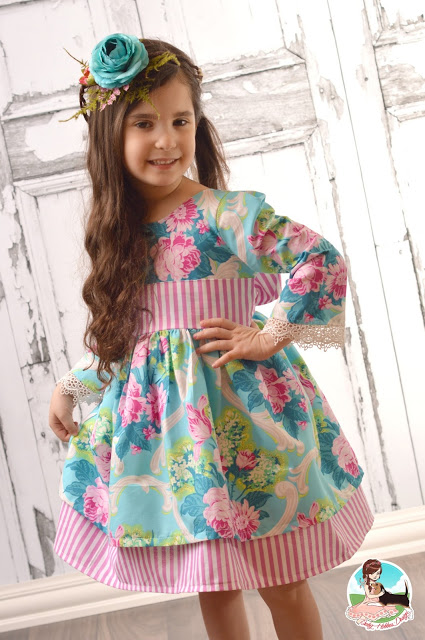
Merav of Baby Hobbes Design is back with Part II of her take on the new Sally dress, this time with long sleeves. Sally is the perfect year round dress and super simple for the beginner sewist. We hope you give her a try and don’t forgot to share your creations with us on Facebook and Instagram!

Sally Part II, Long Sleeves for the Win

I am so happy to be back with part II of the Sally Dress tour, and this time I am here to share with you an easy trick for a year-round dress. I am always in the market for new and easy beginner patterns-and, as we discussed in last week’s post, Sally is just that! But how about Sally with sleeves?

Sally part2a

I adore the tank style, pull-over Sally dress! Here in the Windy City, we are still in LONG sleeves for a few more months. And a versatile pattern means ‘A Win’ for me-to sew year round.

sallpart 2b

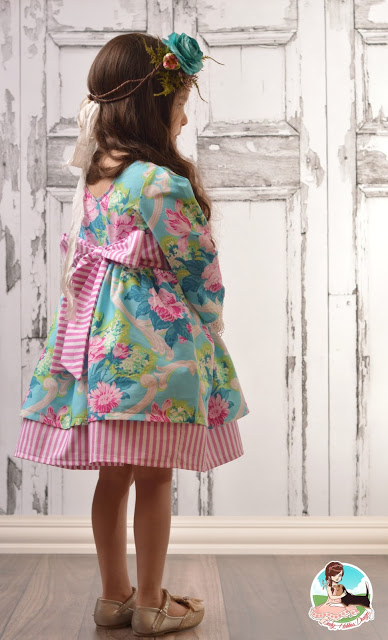
This week I let Hobbes play around with my beautiful Sis Boom fabric collection, and I was in heaven when she pulled out Caravelle Arcade’s Jessica in Blue and Beauty Queen’s Katie stripe in Pink. My head (and heart) went straight into Valentines mode, and we decided this will be her dress for our big Valentines fundraiser next month.

You are going to love how easy it is to take Sally and change her up to meet the demand of the weather. To achieve this look, you will need the Gabriella Fae pattern for its bodice and sleeves. Also, if you are a sucker for lace like me, check out my November Blog here for adding these pretty darling details.

sallypart2c

Once you have both the Sally and Gabriella Fae bodice pieces cut out to size, go ahead and follow the steps here in order to change the arm cycle of Sally to adjust for the sleeves.

sally part2d

Looking at the pictures above, from left to right. First, cut your pattern size in both dress bodice to size. Next, lay the Gabriella Fae front bodice on top of the Sally front bodice. Match the shoulders at the arm cycle edge. For this quick transformation, I am not changing anything else in the pattern–just the curve of the arm. As you can see, I shaded/colored in the difference in arm curve directly on the Sally for easy cutting. Once you have your markings on the front (repeat with the back bodice), go ahead and cut off the markings so your Sally can accept Gabriella Fae sleeves.
***Please note that you can do this trick with most of your patterns. Always remember to change the arm-cycles and note the difference in the shoulder alignment.

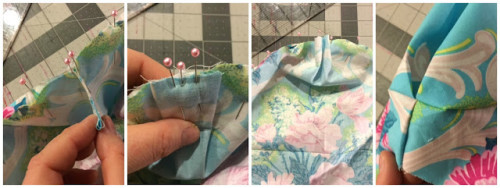
Next, sew your sleeves. You may choose to follow the Gabriella Fae directions to add your sleeves. Because I have experience sewing that pattern, I decided to change it up a bit and add a pleat at the top shoulder instead of a gathered puff. I’ll be honest, it was an experiment, but I had nothing to lose–it’s all in the pinning.

sally part2e

It’s so easy to add this small detail. First, fold your sleeve in half and stick a pin in the top middle. Then, starting from the edge, pin your sleeve to the bodice until you are at the halfway point/reached your shoulder seam on the bodice. Then move to the other side of the sleeve, starting from that end, pinning till you reach the middle of the bodice.

Looking at the pictures above, from left to right: grab your excess sleeve material in the center (bout 3-3,5 inches) and make sure that the sleeve is pinned perfectly up to the shoulder seams. Next, you will want to flatten the access sleeve and perfectly align it with the center seam on the shoulder. Pin in down and check it on both sides to make sure the pleat center is aligned with shoulder seam. Once you are happy, sew it up to the bodice.

Once you have added on your sleeve, continue with the Sally directions. Just remember when you are sewing your front and back bodice closed, you are starting at the sleeves and sewing down.

sally part2f

sally part2g

And that’s how I got Hobbes this new Sally. It’s an easy beginner, pullover darling dress pattern.Now show me how you transform your Sally dress. Get your copy of Sally and Gabriella Fae here.

Special thanks to my talented friend Julie over at the Little Sparrow Bows for her perfectly made to match hair halo.

Like my backdrop? Temperatures have been in the teens here and I just didn’t have the heart to ask Hobbes to pose outside. Loving my new Big Time Prints (formally Bubblegum Backdrops) for a quick and warm photo-shoot.

Till next time, happy sewing!
~Merav @ Baby Hobbes Design

Guest Blogger: Baby Hobbes Designs

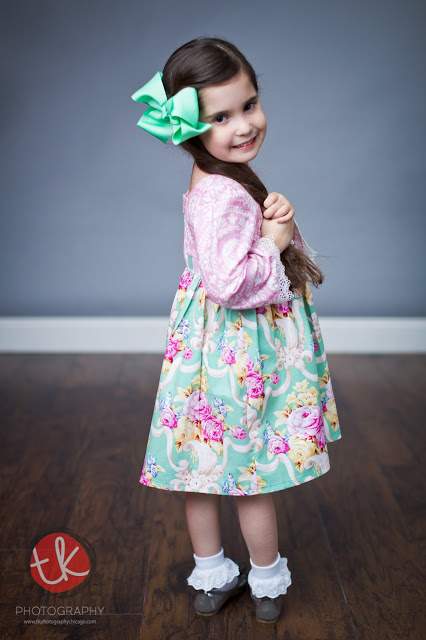
Chicago blogger and seamstress extraordinaire, Merav of Baby Hobbes Design, and her lovely daughter, Hobbes, return for their fourth blog post. We are thrilled to have them back. Enjoy their review of Gabriella Fae made with Sis Boom’s new line, Nostalgia and Merav’s lovely lace embellishments.


Nostalgic About My Gabriella Fae
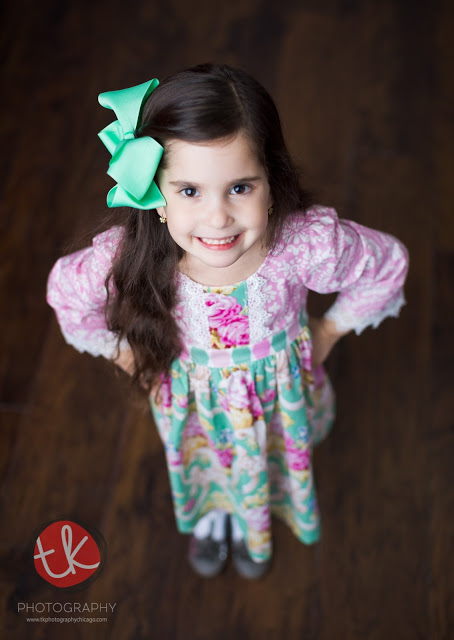
Babyhobbes1

My best friend since Middle School is Gabriela; well now she goes by Gabi. She transferred into our school in 7th grade and quickly became my bestie. We did everything together-her parents used to call us “an old married couple” because we were inseparable. Though it’s been almost 15 years since we lived in the same time zone, I cherish our friendship and reminisce about our endless days together. One of our favorite past times was to wander around mall (yes, we were in the burbs of Long Island) while talking about clothes and the new style trends.

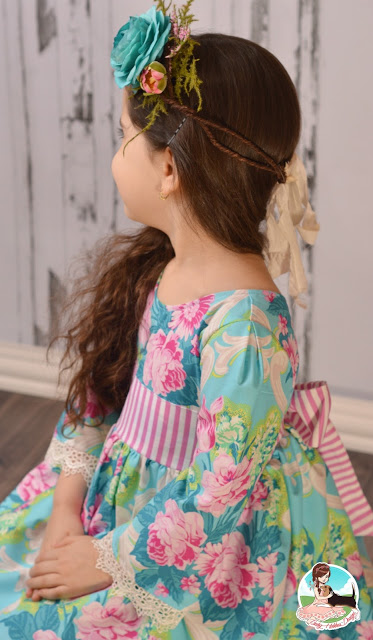
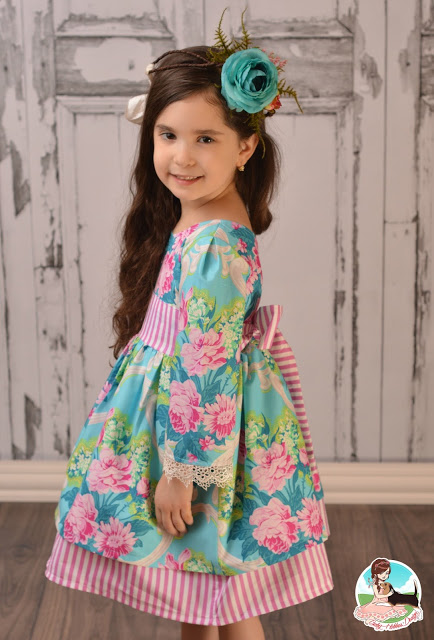
These days, my partner in fashion is my little 3 and a half foot tall Hobbes. We shop for fabric and talk about how to compliment and mix print. When Sis Boom Nostalgia arrived, with it’s soft pastel hues and large, bold flowers, I knew I wanted Hobbes to be involved in the dress making process. This time around (and with direction) she choose the pattern and the fabric placement. I was ecstatic when she chose Sis Boom Gabriella Fae; it reminded me of my favorite past time with my dear friend, Gabi. Kind of makes me nostalgic!
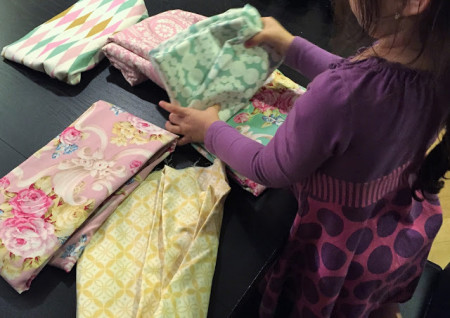
babyhobbes2
(Hobbes switching the Nostalgia fabrics in and out of Gabriella Fae waistband placement)
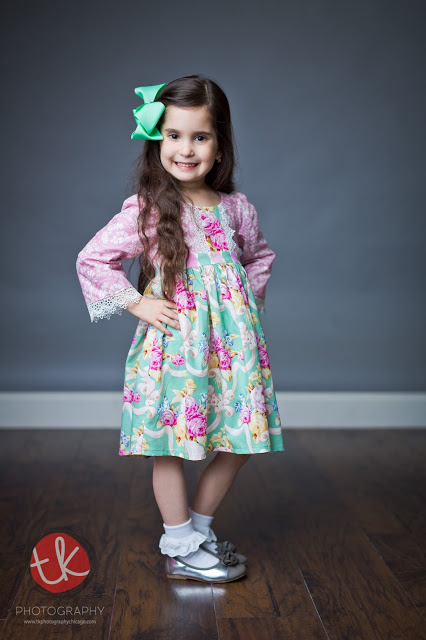
BabyHobbes3

babyhobbes4

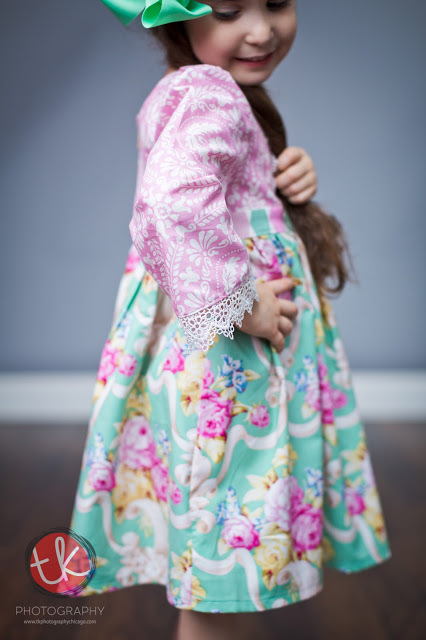
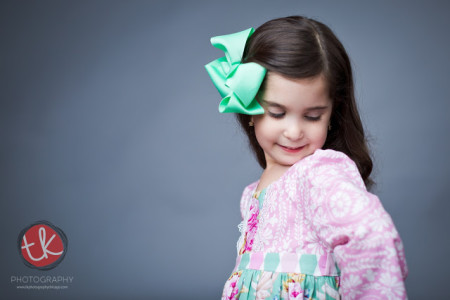
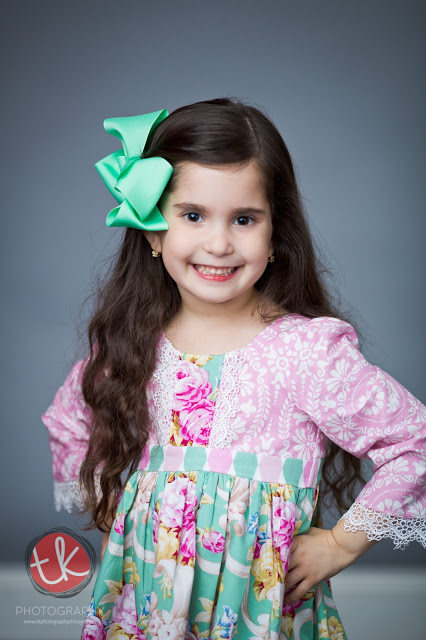
I was delighted when Hobbes chose for us to sew the Gabriella Fae PDF dress pattern. The Holidays are approaching and I wanted her to have a new dress for our Thanksgiving table. The scoop neck, empire bodice and the zipper back, along with the Nostalgia fabrics and the added lace trims (see how-to add the lace trim below) helped shape this dress into a One Of A kind, special occasion dress.
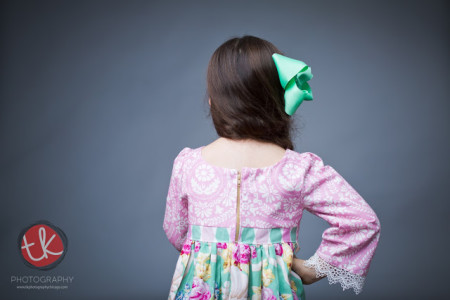
BabyHobbes-5

(Since Hobbes measures the same in chest/waist and hips, I chose to shorten my zipper to end at the gathered skirt)
BabyHobbes-6

I love that this patterns sports sleeves in multiple lengths-perfect for year round dresses. We chose to sew long sleeve, leaving an inch off so we can add the 1 and 1/4 wide lace to the sleeve edge. The dress can be sewn in multiple lengths too. If you have your kid handy, you can measure down from the waist to your desired length. For my daughter, with a waist 21 and height 41.5, I chose to cut the 3T in the fully lined flat bodice and 16 inch length for the skirt.
BabyHobbes-7

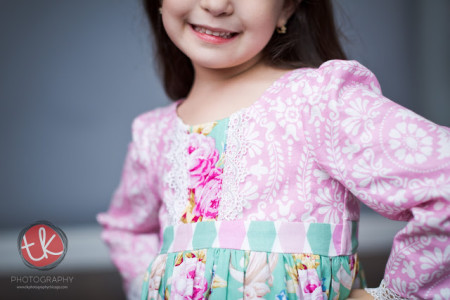
The dress bodice can be made using 2 different cuts. One is a smooth outer layer, like the one Hobbes and I made cut in order to add trim in the center. You can also chose the second option for a gathered front bodice for the perfect ruched look. There is even an option to add a bow at the waistband. So many possibilities!
BabyHobbes-8

To create the trim for a flat bodice overlay and the sleeves, please follow the instructions below:

Looking at the picture below, and starting from LEFT:

After you cut your flat bodice piece, measure how wide of an overlay you would like. For Hobbes size 4 bodice, I cut roughly a 2 and 1/4 piece and added an inch to the length. Make sure your design is centered.
Next, fold your edges under-1/4 on each side. Find the center of your bodice and place the overlay on top. Pin in the center.
Cut two strips of lace-I like to cut about an inch longer so I can then match the curves on both sides. Tuck the lace under the folded edge, 1/4 of an inch on each side. Pin and sew.
babyhobbes9

To add a lace trim around the sleeves, see picture below. Staring from the LEFT:
Take your raw end of your sleeve, right side up. Lay your lace piece right side down. Pin and Sew with a 1/4 inch seam allowance.
Fold over the lace, so that the seams are under. Press and top stitch 1/8 of an inch to tack it down.
*I added the lace before I sew the sleeves closed. It’s much easier that way. When you do close your sleeves, make sure you match the lace and the sleeve hem.

babyhobbes10

BabyHobbes-11

There you have it! Now you can embellish your Gabriella Fae’s sleeves and bodice just in time for the holidays. I hope you love it just as much as Hobbes and I do. And if you are sewing with your mini-me, share your pictures here.

Happy Sewing,
-Hobbes and Merav @ Baby Hobbes Design

As always, I love hearing from my crafty friends. Follow me at Baby Hobbes Design on Facebook or Instagram for updates, pattern review, One of A Kind dress-sales and giveaways.
Special thanks to my friends at TKPhotography Chicago for these gorgeous card-ready photos.
And if you don’t own it, get your copy of Sis Boom Gabriella Fae Here